If you run a website and do much of your marketing through email, a popular way to gain more subscribers to your mailing list is to offer a special incentive for signing up, such as access to a free ebook or magazine.
[Related: 5 Ways to Supercharge Your Email Marketing (Infographic)]
You can now easily send your subscribers a download link to your document immediately after they sign up with your MailChimp form. Follow the steps below to learn how.
Step 1: Create a signup form in MailChimp
Login to MailChimp and go to Audiences. Then click Signup Forms, and select the form builder.
On the next page, choose General Forms. You’ll perform a few steps here to customize each step in your signup process.
Use the forms and response emails dropdown to select the part of the form you want to work with. You will want to build the following sections:
1) Customize your Signup form,
2) Opt-in confirmation email, and
3) Confirmation “thank you” page.
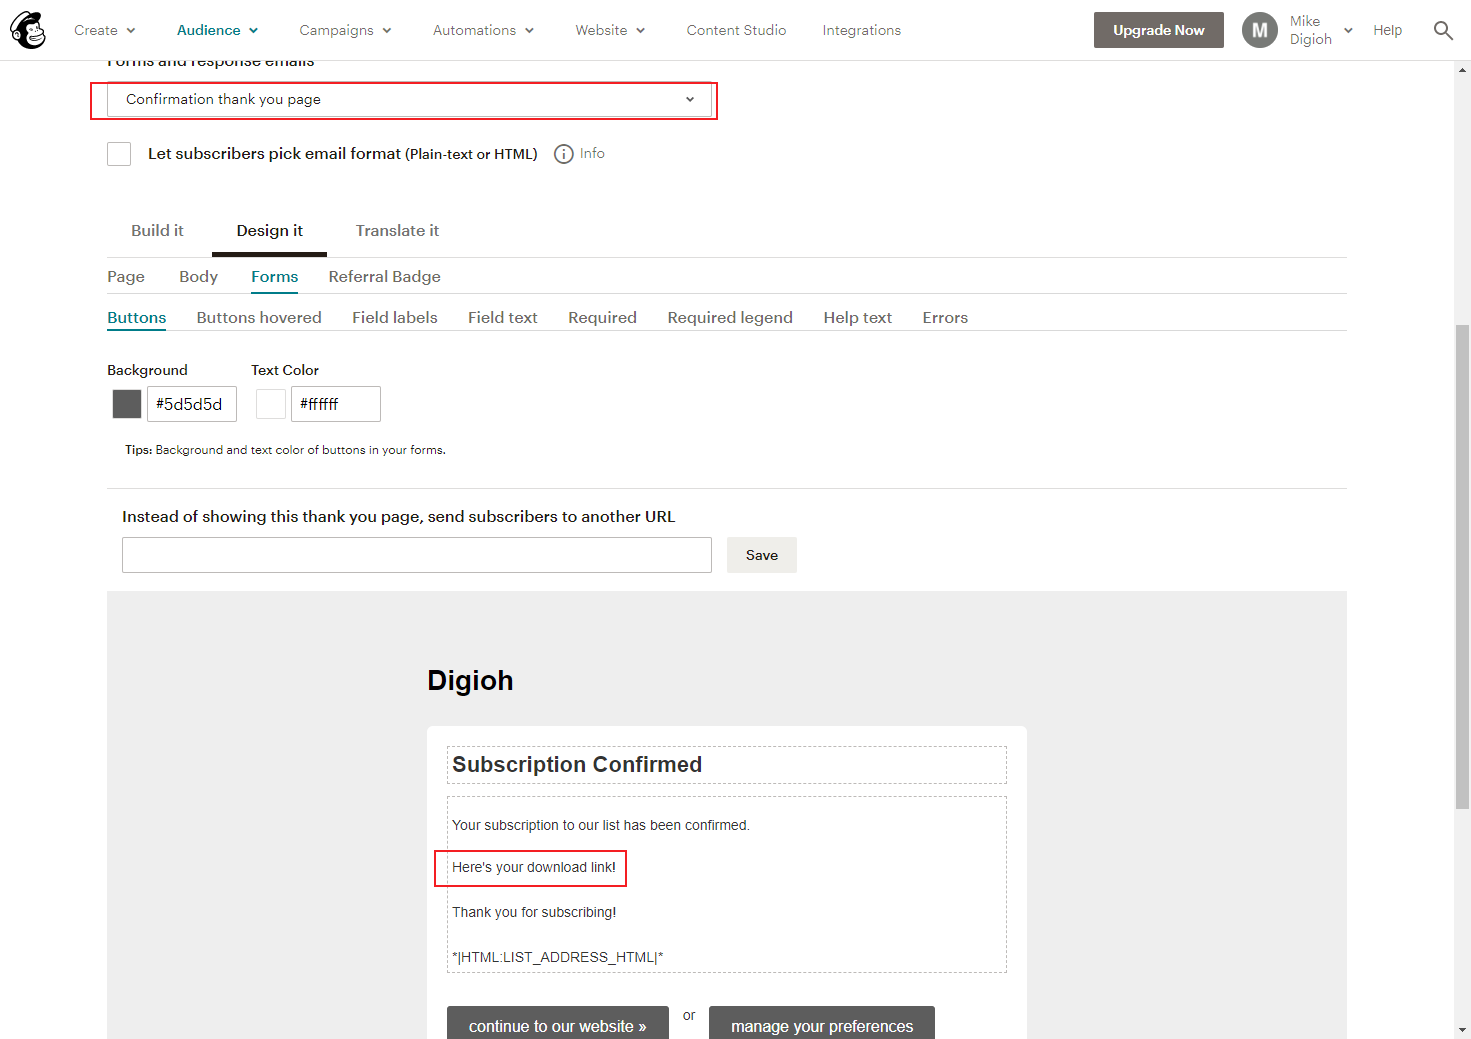
On the Confirmation “thank you” page reserve a spot for your file download link. We’ll return here later.
Lastly, for the Final “welcome” email, decide if you want to leave this email on or turn it off.
After you finish your set up, you can share the provided link to your form or you can embed it on your website. To embed it, go to Signup Forms > Embedded Forms, and scroll down to find the copy/paste code on the bottom-right.
Step 2: Create a download link to your file with Digioh
Now that you’ve set up your form, you’ll need to set up your document. First, sign up for Digioh, a service that allows you to send, track, and protect files for your MailChimp subscribers.
Once you have a Digioh account, connect it to your MailChimp account and Add a File.
Under Security Options, you’ll see a few choices: List Grower Security (a person can sign up to view the document), Membership Security (the person must already be on your list to view it), or No Security. Since we want sign ups in this case, choose your list from List Grower Security. This way, if anyone forwards the link to your document, they’ll be prompted to join your list.
After setting your options, move on to the next page. Your document will upload and you’ll receive the download link to copy/paste in MailChimp.

Step 3: Paste your Digioh download link in MailChimp
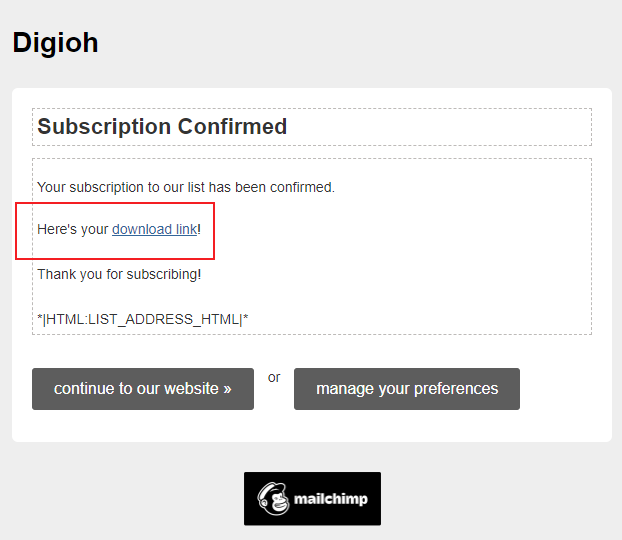
With your download link in hand, you can now go back to MailChimp and place your link in the Confirmation “thank you” page, giving your subscriber instant access to your file.
In addition, you can also send the file in a Customer Journey, which can be set to go out right after a user signs up.
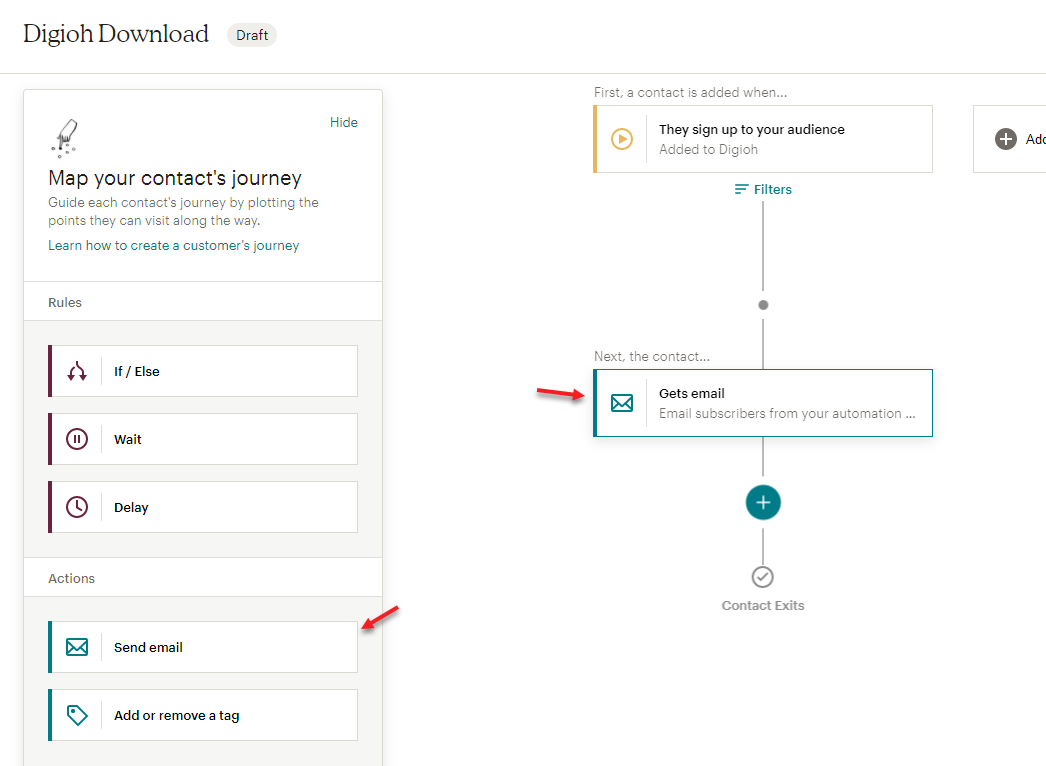
To create a Customer Journey head to Automation > Customer Journey
Start by creating a Customer Journey.
Keep following the steps and you’ll soon be able to set up a journey map. Add a “send email” event to it
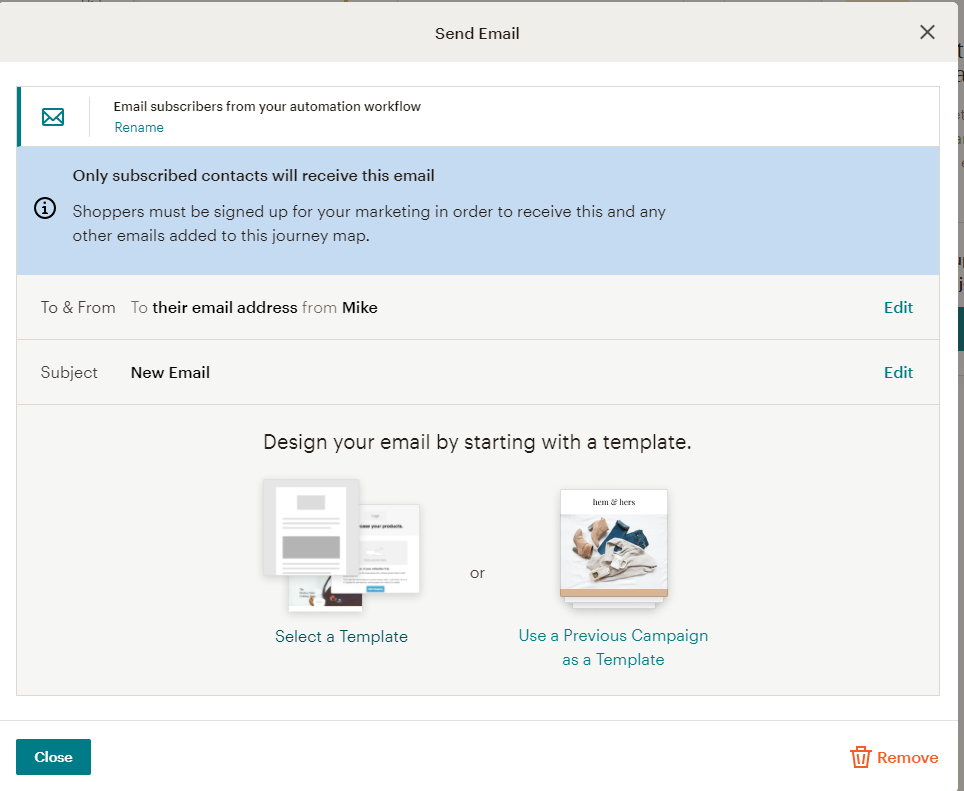
Click on “Gets Email” and select whether you want to use a template or a previous campaign for the starting point for the design.
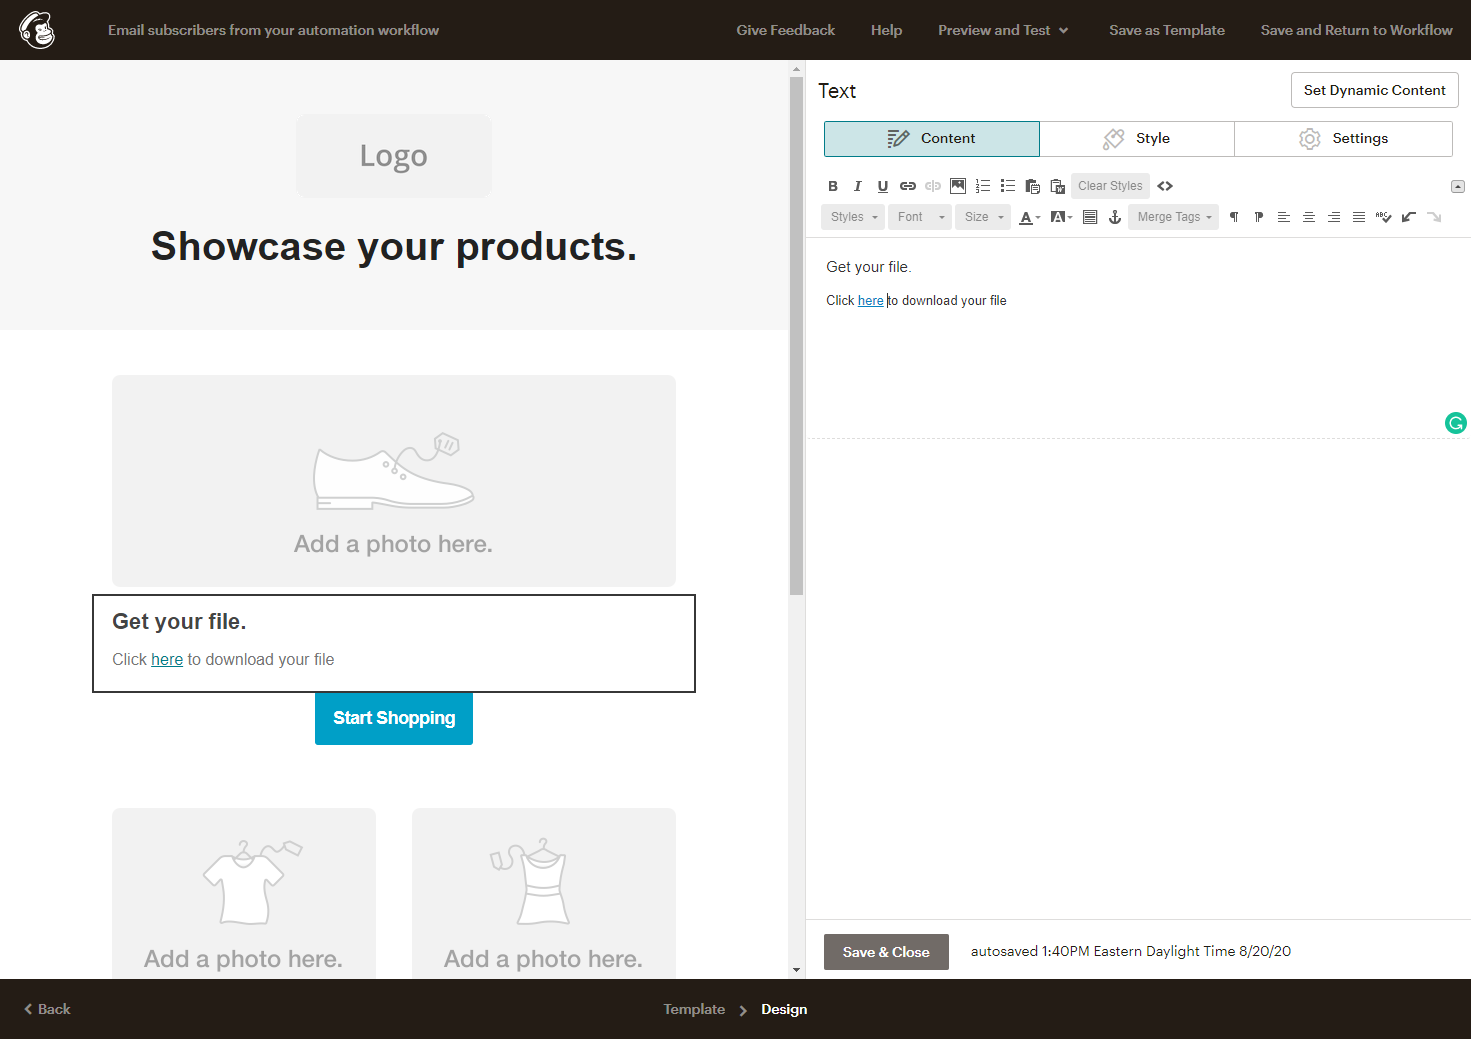
Select the template or email you want to work with, and once you’re in the editor, add your Digioh link
Phew! I know we’ve come a long way, but before you go live, be sure to test your whole set up by subscribing yourself through your Signup Form.
If you have any questions, feel free to send us a message.




With the final welcome email (#5 above), should I turn it off or on? What is the advantage of it either way?
Thank you,
Bea H.
Hi Bea,
I think it’s somewhat of a personal choice, but I wouldn’t recommend placing your Digioh link in the welcome email. The welcome email is a nice reminder of the information the subscriber has just entered into the system, but it also has a huge unsubscribe button in it that you can’t alter. You don’t want people to sign up for your list only to sign right back off when they get the download link. In this way, your autoresponder can not only provide the download link, but offer much more interesting info (that would also not fit well in the welcome email) that will show your subscriber that there’s plenty of great content to come and that they should stay on your list.
I hope that helps you out!
Thank you for the tutorial article. I was trying to figure out how to send a free downloadable file to my subscribers when they sign up for the newsletters.
Thanks Praveen – Glad to be helpful 🙂
Thanks very much for your trick. I was really looking for this steps. I wanted to send my subscribers a file when some subscribe to my blog. Thank you.
Our pleasure! Thank you 🙂